Google Business Profile Photos What to Upload: 10 Photos Your Customers Want to See First
A woman stands on the street with her phone in her hand. She needs a shop like yours. She taps your name on the map. Your page opens. She does not read your long text first. She looks at your photos. In five seconds she picks: this place looks real and clean, or this place looks dark and old. She taps call, or she taps back. That first look is why this post exists. Google gives clear rules for profile photos. This post turns those rules into a first shoot list of 10 photos your customers want to see first, shot on a plain phone, in one good morning of work.
Shoot 10 first photos: 1 cover, 3 outside, 2 inside, 2 of work in action, and 2 of products or your team. Each file must be JPG or PNG, 10 KB to 5 MB, at least 250 by 250 pixels, with 720 by 720 best.
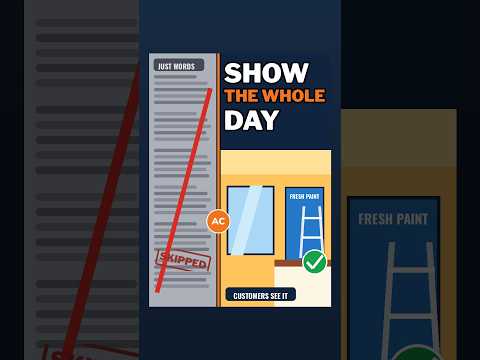
What the video shows: This short video is called "Your Competitor Has 40 Photos. You Have a Paragraph." It makes one plain point: a profile with real photos of the work wins trust that words alone do not. The shot list in this post tells you which photos to take and upload, so your profile shows the work, not just a paragraph about it.
What must be true before any photo shows at all?
First rule, and it stops many shops cold: your profile must be verified before photos show. Verified means Google has checked that you are the real owner of the business at that address and has marked your profile as confirmed in its system. If your profile is not verified yet, you can still take your photos and keep them in a safe folder. Just know they will not show to customers until the verified step is done.
Think of verified like a key to a front door. You can clean the shop, paint the walls, and set out your best goods. None of it helps a customer on the street until the door is open. Verification opens the door. Photos are what the customer sees once she steps in. Do the key step first, then worry about the view.
How do you know if you are verified? Open your profile through Google Search or Google Maps and look at its state. If it asks you to verify, follow Google's steps for your type of business and finish them in full. Do not pay a stranger who calls and offers to verify you for a fee in a rush. Use Google's own path from your own account.
New photos, once you upload them, can take 24 to 48 hours to show. That is one to two full days. So do not shoot and upload on the morning of a big sale and hope the new shots are live by lunch. Shoot this week, upload this week, and plan for the photos to be live a day or two later. If a photo does not show after 48 hours, check the file rules in the next section first — size and type are the most common blocks — then try the upload once more.
What are Google's file rules for each photo?
Size rule: the file must be between 10 KB and 5 MB. KB means kilobyte, a small unit of file size. MB means megabyte, a much bigger unit. Too small — under 10 KB — and the photo is likely a tiny blur. Too big — over 5 MB — and Google will not take it. Most phone photos land in the right span on their own. If a file is too big, send it to your self in a way that shrinks it, or use your phone's edit tool to save a smaller copy, and check the size again before you upload.
Pixel rule: pixels are the small dots that make up a digital photo. More pixels across means a sharper photo on a big screen. Google says 720 by 720 pixels is the recommended size — 720 dots wide and 720 dots tall. The minimum is 250 by 250 pixels. Under 250 in either direction is too small and may not be accepted or may look poor. When in doubt, use the phone photo as shot. Do not crop it down to a tiny square and upload that.
Truth rule: photos must be true to real life. No heavy filters. No significant alterations. A filter is a phone effect that changes colors or skin or light in a strong way. A light touch to brighten a dark shot is one thing. A filter that makes your walls a color they are not, or your food a shine it does not have, breaks the rule and breaks trust too. The customer who walks in should see the place she saw on her phone. That match is the whole point.
Run each of your 10 files past these five rules before you upload: JPG or PNG, 10 KB to 5 MB, at least 250 by 250 with 720 by 720 as the goal, sharp and well lit, and true to life. It saves the wait being wasted on a refused file.
Why do photos matter so much, in Google's own numbers?
Google says businesses with photos receive 42 percent more requests for driving directions and 35 percent more clicks to their websites than businesses without photos. Those numbers are from Google. Let us do the math in plain sight so the size of the prize is clear.
Percent means parts out of 100. If a shop with no photos gets 100 requests for driving directions in a span, a shop like it with photos gets about 142 in the same span. That is 100 plus 42. Forty two more cars pointed at your door, out of each 100 you would have had.
Which photo types does Google name, and what are the minimum counts?
Google names clear photo types, each with its own job and its own minimum count. A minimum is the least number Google asks for in that type. You can add more later. Start by meeting each minimum that fits your kind of business.
Exterior photos show the outside of your place. Google asks for at least 3. Shoot them from each direction a customer walks up. If folks come from the left, the right, and across the street, shoot all three views. Shoot at different times of day if you can. Morning light and late day light show your sign and door in true ways. The job of the outside shots is simple: a new customer should spot your door from the street shot alone, with no doubt.
Interior photos show the inside. Google asks for at least 3. Shoot what it feels like to stand inside as a customer. Stand where she stands. Show the counter, the seats, the shelves, the light. Do not shoot the back room or the staff hall. Shoot the customer's view. The job of the inside shots is feel: clean, bright, safe, and roomy enough to walk in with ease.
Product photos show your most popular items. Google asks for at least 3 of them. Pick the goods folks buy most, not the rare ones. Keep the light even. Evenly lit means the light falls the same across the item, with no harsh bright spot on one side and dark shade on the other. Plain backdrops help: a clean table, a white sheet, a neat shelf. The job of the product shots is to let the customer pick with her eyes before she ever calls.
Photos at work show your team giving the service. Google asks for at least 3. Show hands at work, tools in use, a job in mid step. Ask each team member first if she is fine being in a public photo, and honor a no with no fuss. The job of the work shots is trust: real people do real work here.
Then there are two special images. Your logo is your business mark, the sign or symbol folks know you by. Your cover photo is the one image that best shows your business. Pick the cover with great care: your best true shot of the place or the work. One note with the cover: Google may not always show your pick first. That is Google's call in its own layout. Still pick your best. It is the shot Google starts from and the one most linked to your name.
Food businesses get one more rule. If you serve food or drink, add at least 3 photos of popular dishes or drinks. Your best sellers, shot in true light, on the plates and cups you really use. Not styled food from a stock site. Your food, your plates, your table.
What is the first-shoot list of 10 photos, in shoot order?
Here is the list this post's title promises: 10 photos, built from Google's types. Cover 1, exterior 3, interior 2, work 2, product or team 2. That adds to 10. One plus three is four, plus two is six, plus two is eight, plus two is ten. Teach your self to adapt the counts to Google's minimums for your type of business: if Google asks for 3 inside for your kind of shop, your second shoot adds that third inside shot. This list is shoot one. The minimums are the debt list you clear right after.
Photo 1, the cover. Save your best shot for this slot, even if you shoot it last after you see the light. Pick the one frame that says your whole business in a glance: the bright front with the sign and an open door, or the main work in full swing. Wide, sharp, true.
Photos 2, 3, and 4, exterior — the 3 outside shots. One straight on from across the street, sign and door both in frame. One from the left walk-up view. One from the right walk-up view. Step back far enough to show some street and a near landmark if one helps folks spot you, like a corner or a known next door shop. Wipe the lens first. A thumb smear is the top cause of soft street shots.
Photos 5 and 6, interior — 2 inside shots to start. One from the front door looking in, the customer's first true view. One from the back looking toward the front, showing depth, seats or shelves, and light. Move bags, boxes, and cords out of frame. Turn on all your normal lights. If a bulb is out, swap it before the shoot, not after.
Photos 7 and 8, at work — 2 work shots to start. One close shot of hands and tools doing the core service. One wider shot of a team member with a customer, or at a real job site for your trade, mid task. Real work only. Do not stage a fake smile at a desk if your work is done with tools on site. True beats cute.
Photos 9 and 10, product or team — 2 shots. For a goods shop: your top two sellers, evenly lit, one item per frame, price tag in view if that is how you sell in store. For a service shop with no shelf goods: two warm team shots in the work space, in work clothes, true smiles, no filter. For a food shop: use these two slots for your top two dishes, and put the third dish at the top of shoot two to meet the food count of 3.
What mistakes will hurt you, and how do you dodge each one?
This is the hardest part to get right at first, so we will say it two ways, with two pictures in your mind.
First picture: think of your profile as a store window on a busy street. What you put in the window is what the street thinks you sell. If you put a poster of a beach in a shoe shop window, folks walk past confused. If you put dusty fake shoes in the window, folks think the real shoes are dusty too. Your photos are that window, shown to the whole town at once, all day and all night.
Second picture, same rule: think of your profile as a mirror you hold up to your shop. A true mirror helps you fix your collar. A warped mirror makes you fix things that were never wrong and miss the things that were. Filters and stock shots warp the mirror. True photos keep it flat and clear. Window or mirror, the rule is the same: show the real thing, clean and well lit, or the glass works against you.
Trap one: stock photos used as if they were your place. A stock photo is a shot you buy or download that was taken at some other business. Never upload stock photos as if they were your place. Not your front, not your room, not your food. A customer who walks in and sees a new place will feel tricked, and tricked customers leave hard reviews. Stock has legal uses in ads and posts. Your profile photos are not one of them. Your place, your shots.
Trap two: a flyer uploaded as a photo. A flyer is a page of text and offers — a sale sheet, a menu scan crammed with words, a coupon. Never upload a flyer as a photo. Profile photos should be photos: scenes, goods, people at work. Text heavy images look cheap in the photo row and can be removed. Put your offers in your posts and on your site. Keep the photo row pure scene and proof.
How do you upload and check the set once it is shot?
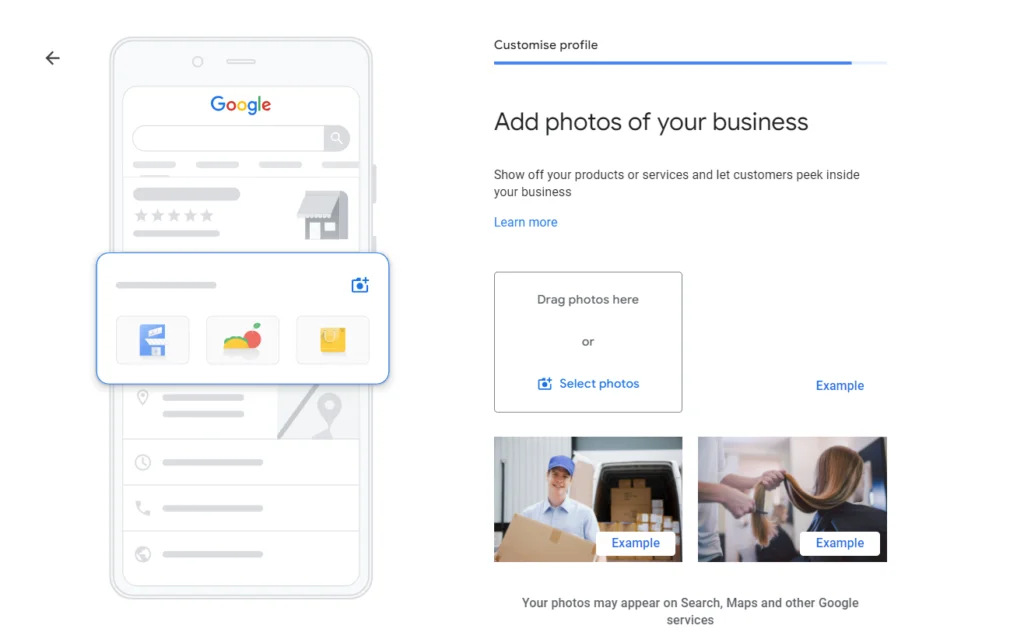
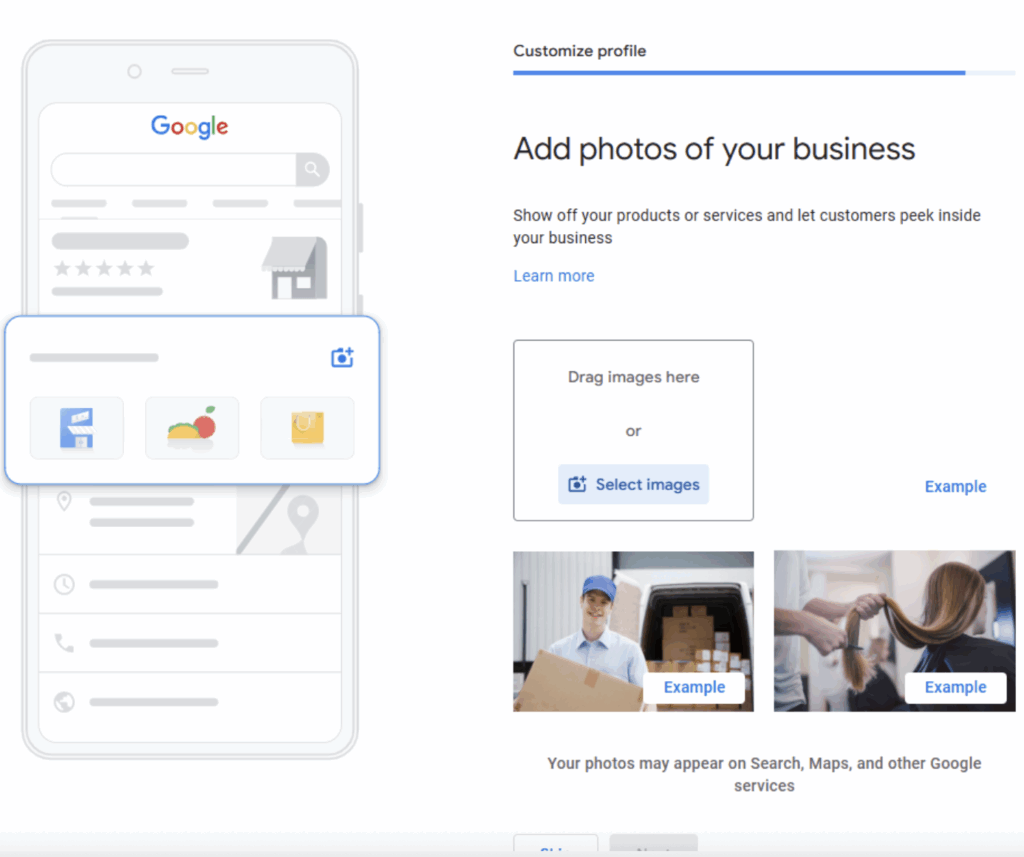
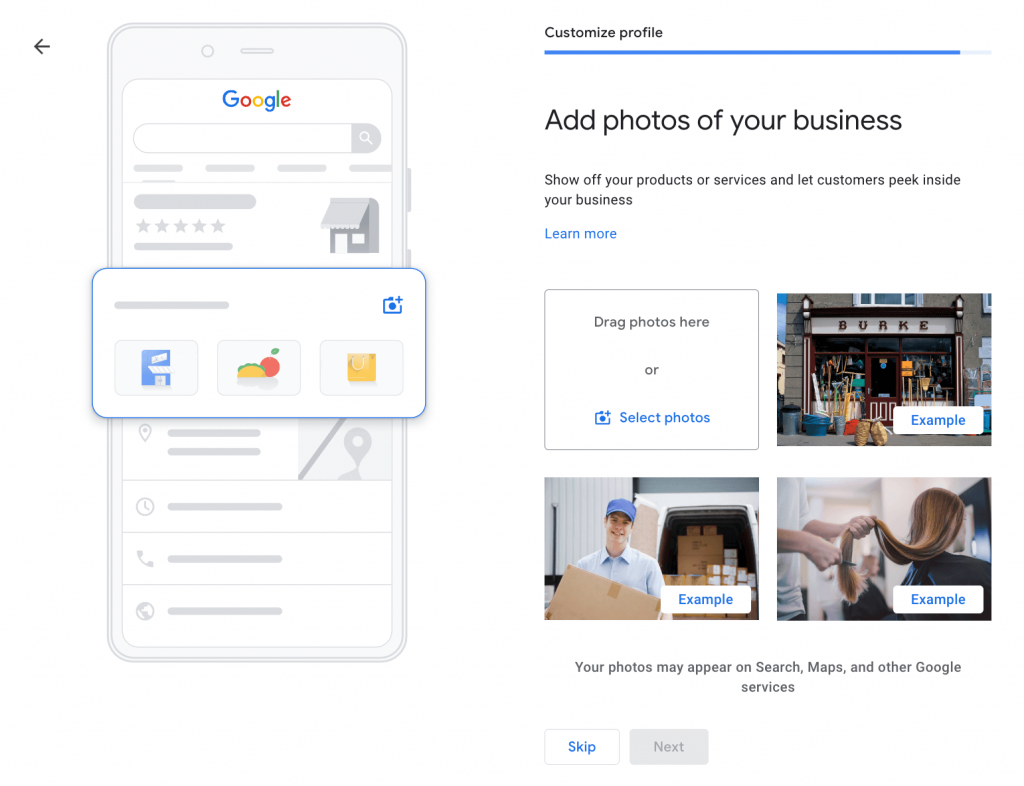
Use Google's own path: find your profile in Google Search or Google Maps, open the photo tools from your profile, and upload from there while signed in as the owner account. Add your logo in its slot. Add your chosen cover in its slot. Then add the rest by type.
At 48 hours, do the customer test. On a phone that is not yours if you can, search your business name, open the profile, and look at the photos as a stranger. Is the cover your best shot, or did Google lead with a different one? Either is allowed — Google may not always show your pick first — but know which shot leads, since it is your street window now. Are all 10 there? Is any shot dark, soft, or wrong in a way you missed on the big screen? Note fixes in a short list and do one clean fix round, rather than daily fiddling.
Your free tool for this step: the GMB Profile Grader
Before shoot two, run the GMB Profile Grader on the Aid & Cos site, in the free tools area. Feed it your profile as it asks and read the grade it gives your page, photos part first. Use the grade as your fix list: if the photo side scores low, match its flags to the types in this post — outside, inside, product, work, cover, logo — and shoot the flagged gaps next. If the grade is strong, use the tool again after you swap in fresh shots to confirm the new set holds the score. The tool fits best right after your first 10 go live: it turns a vague "my page could be better" into a named list of shots to take, in order.
The bottom line
Customers judge your photos in seconds. Meet Google on its own terms: verified profile first, JPG or PNG files from 10 KB to 5 MB at 720 by 720 if you can, sharp, well lit, and true to life with no heavy filters. Shoot the first 10 — 1 cover, 3 outside, 2 inside, 2 at work, 2 product or team — then clear the full minimums for your type of business in shoot two. Never pass off stock as your place and never upload a flyer as a photo. True photos, well shot, are the cheapest trust your shop will ever buy.
Part of: Google Business Profile Help: Costs, Fixes, and Guides for Local Businesses
More guides in this branch:
Keep reading: all Aid & Cos deep-dives